Repositories & CI
Connect your git repositories, configure CI webhooks, and let PermaShip close the loop between code pushes and pipeline results automatically.
Managing Repositories
The Repos page controls which git repositories your project works with. Every ticket that produces code needs at least one connected repo so PermaShip knows where to push branches and open pull requests.
Connection Methods
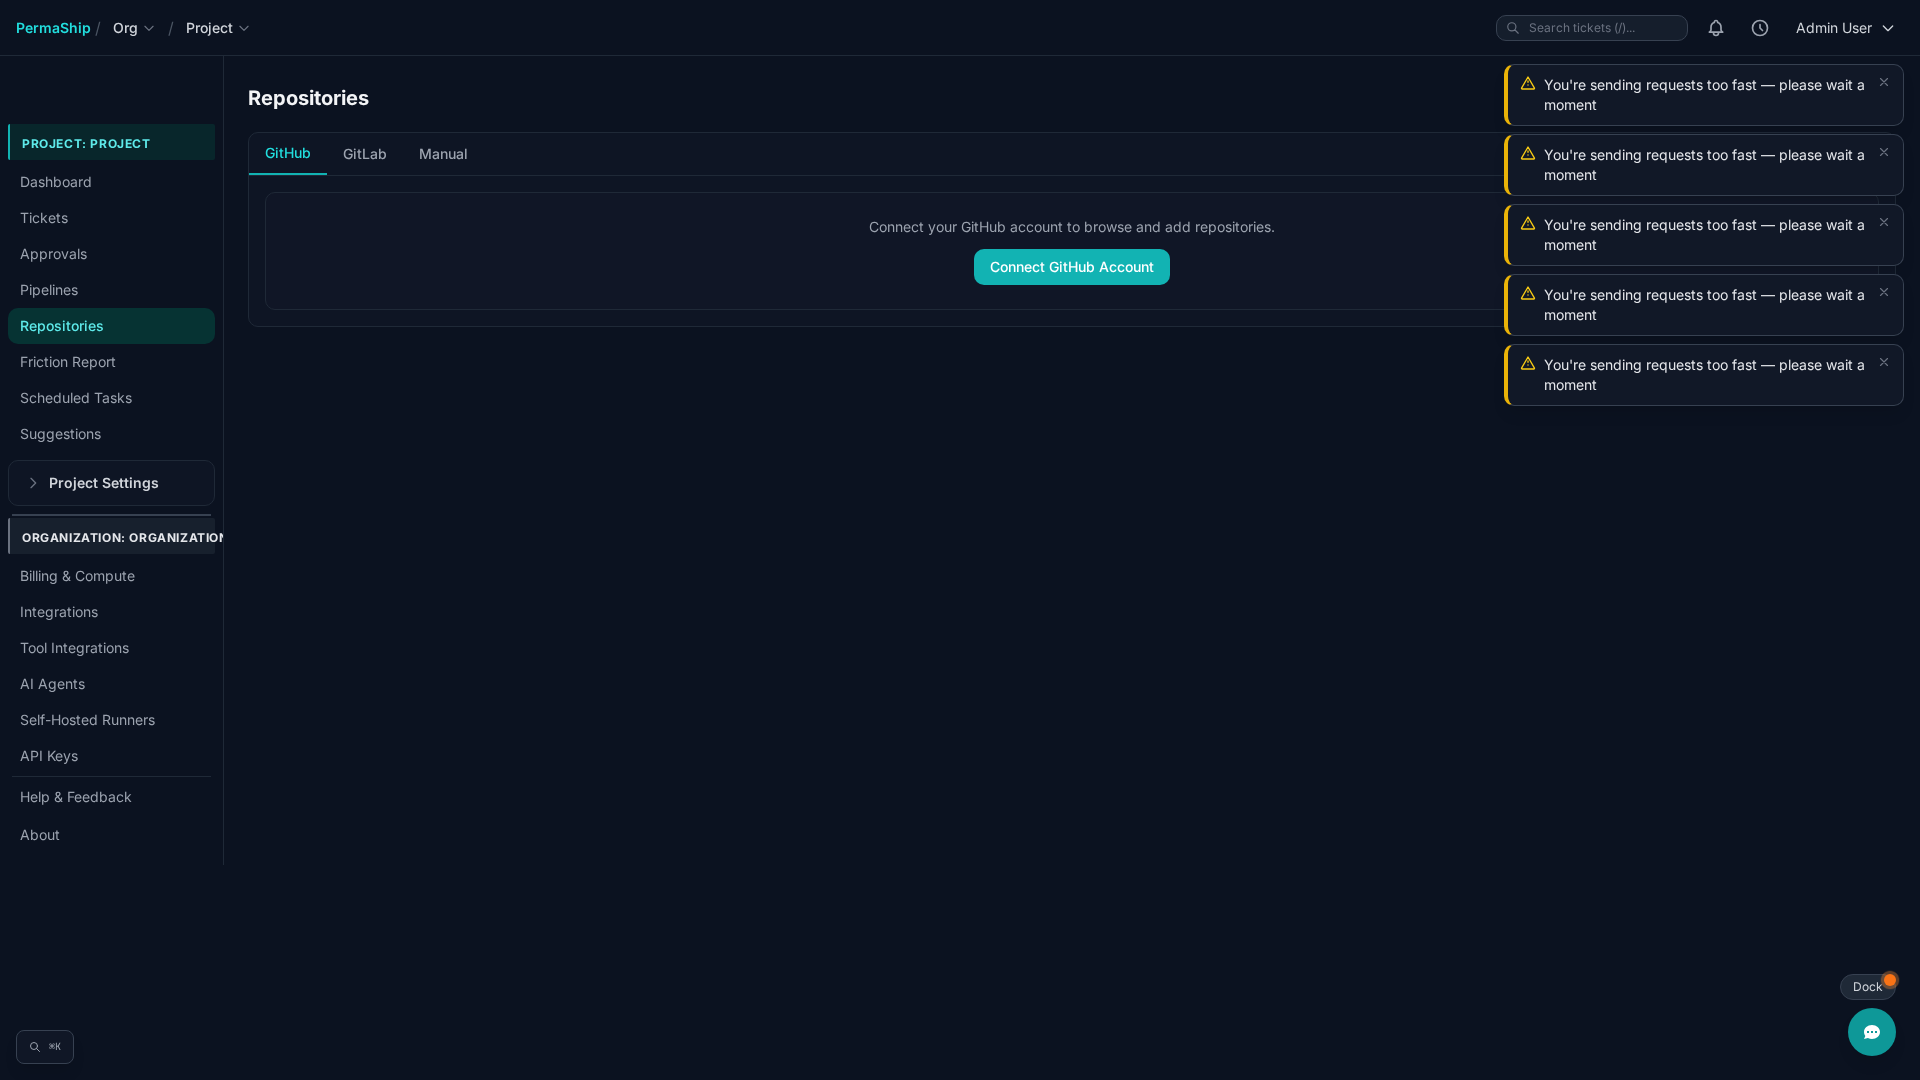
There are three ways to connect a repository:
- GitHub tab — Select from repositories accessible via your connected GitHub account.
- GitLab tab — Select from repositories accessible via your connected GitLab account.
- Manual — Enter a repo key, provider, remote URL, and default branch by hand.
Connected Repos Table
Once connected, repositories appear in a table with the following columns:
| Column | Description |
|---|---|
| Key | Unique identifier for the repository within the project |
| Provider | GitHub or GitLab |
| URL | Remote URL of the repository |
| Default Branch | Branch used as the base for new work (e.g. main) |
| Webhook Secret | The whsec_-prefixed secret used to verify CI webhooks |
| Connected | Date the repository was linked |
From the table you can:
- Change the default branch at any time.
- Copy or regenerate the webhook secret (secrets always carry the
whsec_prefix). - Disconnect a repository when it is no longer needed.
Setting Up CI Webhooks
CI webhooks are required for the feedback loop to work. Without them, PermaShip cannot know whether a pipeline passed or failed after pushing code.
GitHub Webhook
In the Repos table, click the copy icon next to the whsec_ secret for the target repository.
Navigate to your repository on GitHub, then go to Settings > Webhooks > Add webhook.
| Field | Value |
|---|---|
| Payload URL | https://control.permaship.ai/v1/webhooks/github |
| Content type | application/json |
| Secret | Paste the whsec_ value you copied |
Choose Let me select individual events, uncheck Pushes, and check Check runs only.
GitLab Webhook
In the Repos table, click the copy icon next to the whsec_ secret for the target repository.
Navigate to your project on GitLab, then go to Settings > Webhooks > Add new webhook.
| Field | Value |
|---|---|
| URL | https://control.permaship.ai/v1/webhooks/gitlab |
| Secret token | Paste the whsec_ value you copied |
Under Trigger, enable Pipeline events only.
How the CI Feedback Loop Works
Once a webhook is configured, PermaShip can react to CI results in real time. Here is the full cycle:
PermaShip pushes code to a branch and creates a pull request (GitHub) or merge request (GitLab).
Your CI pipeline runs on the branch. When it completes, the git provider sends a webhook to PermaShip.
PermaShip verifies the webhook signature against the stored whsec_ secret to confirm authenticity.
If all checks pass, the ticket moves to ready_for_review status.
If checks fail, a CI fix job is enqueued. The agent reads the failure logs, attempts a fix, and re-pushes the code.
If all fix attempts are exhausted, the ticket escalates to waiting_for_human with the failure details attached.
This loop is fully automatic once the webhook is in place. No manual intervention is required unless the agent exhausts its fix attempts.